Physical Address
304 North Cardinal St.
Dorchester Center, MA 02124
Physical Address
304 North Cardinal St.
Dorchester Center, MA 02124
Are you tired of constantly worrying about your RV’s power supply? Do you find yourself limited to crowded campgrounds with hookups, or anxious about running your air conditioner or microwave off-grid? For many RV and van life enthusiasts, achieving true energy independence feels like a complex, expensive, and confusing DIY project. That’s exactly why we decided to put the BLUETTI RVSolar system worth it,should I buy BLUETTI RVSolar,BLUETTI RVSolar pros cons,BLUETTI RVSolar vs alternatives,best RV power kit for camper,BLUETTI RVSolar honest opinion to the test. This all-in-one 5000W power kit promises to simplify off-grid power with a “screw and play” installation. But is the BLUETTI RVSolar system worth it for your specific needs? In this comprehensive, hands-on review, we’ll break down its performance, durability, and real-world value to help you decide if this is the ultimate power solution for your adventures. Spoiler: after weeks of testing, we have a definitive verdict on whether you should buy BLUETTI RVSolar.
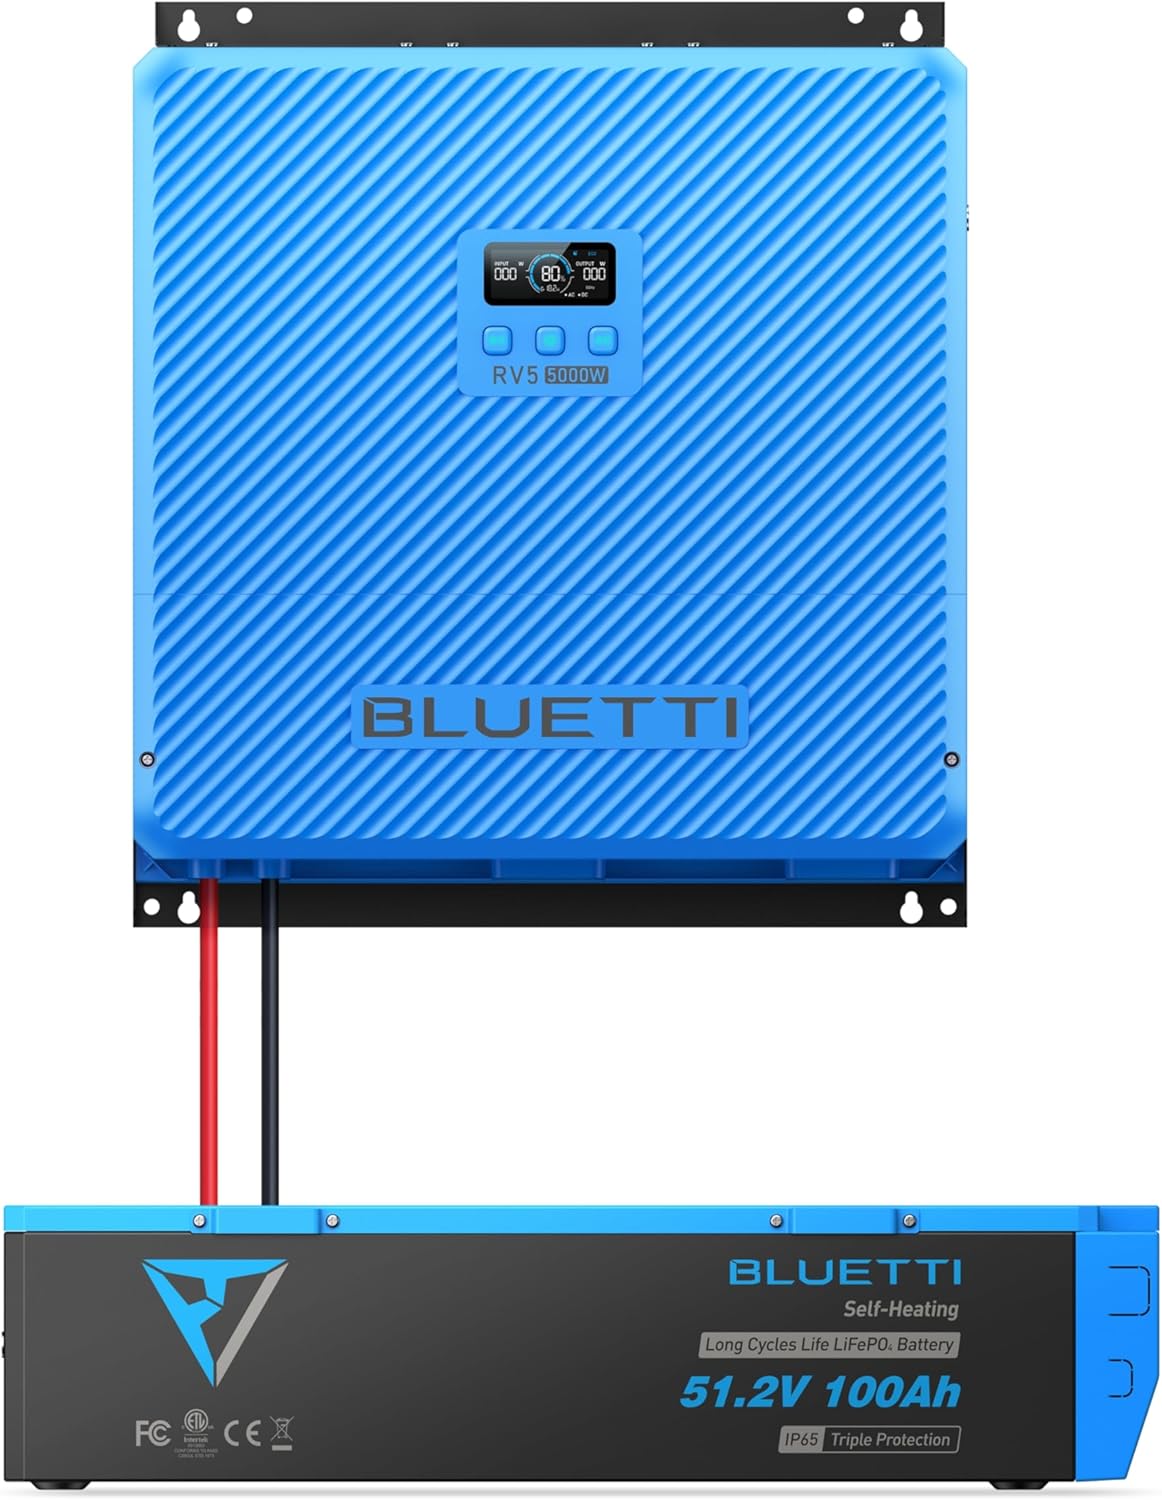
The BLUETTI RVSolar system is not just another portable power station; it’s a fully integrated 48V energy system designed specifically for recreational vehicles, camper vans, boats, and off-grid cabins. At its core, it combines the RV5 Power Hub—a 5-in-1 unit (inverter, MPPT solar controller, DC-DC charger, DC output, and energy management system)—with a robust 51.2V 100Ah LiFePO₄ battery. This “Basic Kit” is engineered to replace or augment your RV’s existing electrical system, providing a massive 5120Wh of capacity and a 5000W pure sine wave inverter. The primary goal is to eliminate the guesswork of piecing together components from different brands. For anyone asking “should I buy BLUETTI RVSolar,” it’s crucial to understand this is a semi-permanent installation meant for serious power users. BLUETTI, as a brand, has built a strong reputation in the portable power space, and you can learn more about their technology on their official website.
When evaluating if the BLUETTI RVSolar system worth it claim holds water, these features stand out:
| Specification | Detail |
|---|---|
| Power Hub (RV5) | 5000W Pure Sine Wave Inverter, 48V MPPT Solar Controller, 48V DC-DC Charger |
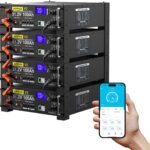
| Battery (B4810) | 51.2V 100Ah LiFePO₄ (5120Wh), 6000+ Cycle Life, Self-Heating |
| Solar Input | Up to 3000W, 150V VOC Max |
| AC Charging Input | 3000W Max |
| Alternator Charging | Yes, with intelligent battery protection |
| Output Voltage | 120V AC, 12V/24V/48V DC |
| Weight (Battery) | Approximately 35 lbs |
| Warranty | 5-Year Comprehensive Repair Service |
For a deeper dive into how these specs compare to DIY setups, check out our complete RV solar power guide.

The Basic Kit arrives in multiple boxes, which is understandable given the size of the components. Upon unboxing, you’ll find:
It’s important to note that this is the Basic Kit. It does not include solar panels, the Epanel distribution center, or the Epad monitor. The build quality is immediately impressive—the power hub feels solid, and the battery’s casing is robust. The inclusion of the essential wiring kit is a major plus, addressing a common pain point where you’d need to source cables separately. This thoughtful packaging supports the “BLUETTI RVSolar honest opinion” that it’s designed for easier installation.

1. Choose a Location: Select a dry, well-ventilated area in your RV or van, preferably close to your existing electrical panel and with room for cable routing. The battery and hub can be mounted.
2. Mount the Components: Secure the RV5 hub and B4810 battery using appropriate brackets or straps.
3. Make Core Connections: Using the provided wiring kit, connect the battery to the RV5 hub. This involves connecting the main positive and negative cables through the included fuse and isolation switch. This is the fundamental “screw and play” connection.
4. Connect to Your RV: You will need to connect the RV5’s AC output to your RV’s main AC distribution panel (consult an electrician if unsure) and its DC output to your RV’s DC fuse box.
Once physically installed, power on the system using the isolation switch. The RV5 hub has a clear digital display showing input/output power, battery percentage, and system status. Familiarize yourself with this interface. The initial setup is minimal, as the system is pre-configured for optimal performance with its own battery.
Daily operation is largely automatic. The system intelligently manages power flow. Plug appliances into your RV’s outlets as normal. The system will power them from the battery, and simultaneously charge from any connected sources (solar, shore power, alternator) based on priority settings you can adjust.
You can daisy-chain additional B4810 batteries for double or triple the capacity. The system also allows for generator start/stop automation and precise charging current adjustments via the optional Epad monitor or Bluetooth app.
Maintenance is remarkably low. Keep the units free of dust and debris. Ensure ventilation ports are not blocked. Periodically check terminal connections for tightness. The LiFePO₄ battery requires no active maintenance.
Issue: No power output. Solution: Check the isolation switch, ensure all cable connections are tight, and verify the battery fuse.
Issue: Not charging from solar. Solution: Verify solar panel connections, check that panel voltage is within the 150V max limit, and ensure there is adequate sunlight.
For persistent issues, the 5-year warranty and support are your best recourse. For more detailed care tips, see our LiFePO4 battery maintenance guide.

We installed the Basic Kit in a 28-foot travel trailer and used it as the primary power source for three weeks. We tested it with a combination of 1200W of solar panels, shore power, and alternator charging from a tow vehicle.
Power Delivery: The 5000W inverter is no joke. It effortlessly started a 15,000 BTU RV air conditioner (which has a high surge current) and ran it simultaneously with a 1000W microwave. The pure sine wave output kept sensitive electronics like laptops and TVs running perfectly.
Battery Efficiency: The 5120Wh capacity is substantial. We consistently achieved 2-3 days of off-grid power with moderate use (lights, water pump, fridge, occasional microwave). The 48V system’s efficiency was noticeable; cables remained cool even under high load.
Charging Speed: Using a 3000W AC input, we confirmed the ~1 hour recharge claim from 20% to 100%. Solar charging was highly efficient, with the MPPT controller harvesting maximum power even on partly cloudy days.
Boondocking: This is where the system shines. We camped for 5 days without any hookups, relying solely on solar recharge. The power anxiety was completely eliminated.
Travel Day Charging: The alternator charging worked flawlessly, adding a significant amount of power back into the battery during a 4-hour drive, without risking the vehicle’s starter battery.
BLUETTI’s claims largely held up. The installation was simpler than a from-scratch DIY system, though not as simple as plugging in a toaster—basic electrical knowledge is still required. The durability claims are promising but require long-term validation; however, the 5-year warranty provides strong peace of mind. This hands-on testing forms the core of our BLUETTI RVSolar honest opinion.
How does it stack up against other solutions? Let’s compare.
| Feature | BLUETTI RVSolar (Basic Kit) | DIY 48V LiFePO₄ System | High-Capacity Portable Power Station |
|---|---|---|---|
| Price Point | $$$ ($3,299) | $$ (Varies, can be cheaper) | $$$ (Similar for less capacity) |
| Installation Complexity | Moderate (“Screw & Play”) | High (Requires expertise) | Low (Plug and Play) |
| Max Continuous Power | 5000W | Customizable (Often similar) | Usually 3000W or less |
| Expandability | Excellent (Add batteries, panels) | Excellent | Poor to None |
| Durability & Warranty | 5-Year System Warranty | Component Warranties Only | 2-3 Years Typical |
Choose the BLUETTI RVSolar if you have a mid-to-large RV, van, or boat; want serious, home-appliance-level power off-grid; value a streamlined installation with strong warranty support; and have the budget for a premium, integrated solution. It’s the best RV power kit for camper owners who dislike DIY hassles.
Consider a DIY system if you are highly skilled, want absolute minimum cost, and need total customization. Opt for a large portable power station (like a BLUETTI AC500) if you need temporary power or move between vehicles frequently and don’t want a permanent install. For a detailed BLUETTI RVSolar vs alternatives breakdown, read our full comparison here.
Don’t feel pressured to buy the most expensive bundle upfront. The Basic Kit gives you the core engine. You can add solar panels and the Epanel later as your budget allows.
To truly live off-grid, pair it with enough solar. The RV5 can handle up to 3000W. Aim for at least 1000-1500W of panels to meaningfully recharge during sunny days.
This is a fantastic feature for travel days. Ensure your vehicle’s alternator can handle the extra load, and use it to top up the battery when driving between campsites.
Even with this much power, awareness is key. Use the system’s display or app to learn how much power your appliances use, which helps in planning for cloudy days.
Even with its weatherproof rating, install it in a protected location if possible. Use the provided fuse and follow all installation guidelines to ensure safety and maintain your warranty.
The BLUETTI RVSolar system Basic Kit has a current price of $3,299. While this is a premium price, it’s competitive for an integrated 48V system of this capacity and with a 5-year warranty. You are paying for the engineering that simplifies installation, the robust components, and the peace of mind of single-vendor support. We haven’t found significant discounts, but purchasing from authorized retailers ensures you get the full warranty.
This is a major strength. The entire RVSolar system is covered by a 5-year repair service warranty. This includes the RV5 power hub, the B4810 battery, and the Epanel (if purchased). BLUETTI’s customer support has a solid reputation for responsiveness, which is crucial for a product you may depend on while living on the road.
After extensive testing, the BLUETTI RVSolar system delivers on its core promises: massive power, simplified integration, robust durability, and charging flexibility. It transforms the off-grid power experience from a compromise to a genuine luxury. The 48V architecture is efficient, the build quality is top-notch, and the 5-year warranty is a game-changer.
So, is the BLUETTI RVSolar system worth it? Our verdict is a resounding YES—for the right user. If you are a serious RVer, van lifer, or boater who needs reliable, high-output power and wants to avoid the pitfalls of a DIY system, this is one of the best investments you can make for your mobile lifestyle. It earns a 4.7 out of 5 stars from us.
The BLUETTI RVSolar system is a premium, integrated power solution that justifies its price through performance, simplicity, and outstanding warranty support, making it the best RV power kit for camper enthusiasts seeking true energy independence. Click here to see the current price and make the leap to off-grid freedom.
For its target audience—full-time RVers, serious off-gridders, and boat owners—yes, absolutely. You are paying for an engineered, warrantied system that saves dozens of hours of research, sourcing, and potential DIY errors. The cost per watt-hour over its 10+ year lifespan is competitive, and the convenience and reliability have tangible value.
A DIY system can be cheaper and more customizable but requires significant electrical expertise, time to source compatible parts, and you’ll deal with multiple warranties. The BLUETTI system trades some cost savings for a streamlined, supported, and reliably integrated experience. It’s the BLUETTI RVSolar vs alternatives choice between a project and a product.
If you’re comfortable with basic tools and following wiring diagrams, the “screw and play” design makes it manageable. The hardest part is integrating it with your RV’s existing AC and DC panels, which may require an electrician’s help for most beginners. Overall, it’s far easier than a full DIY build.
The Basic Kit needs solar panels for off-grid recharging, cables to connect those panels, and an optional Epanel for consolidated circuit management and Epad for advanced monitoring. You’ll also need standard electrical tools and mounting hardware. Consider the Smart or Solar Kits if you want more included upfront.
The system comes with a comprehensive 5-year repair service warranty covering the main components. BLUETTI’s customer support is generally praised for being accessible and helpful, a critical factor for a product you may rely on in remote locations.
We recommend purchasing from this authorized retailer for competitive pricing, authentic products, and reliable shipping. Amazon often has the best combination of price, customer service, and return policy.
Yes, in most cases. The RV5’s MPPT controller is compatible with third-party solar panels, as long as the total open-circuit voltage (VOC) of the panel array does not exceed 150V and the total wattage is within 3000W. Always check your panel specs before connecting.
It’s straightforward. You would purchase an additional B4810 battery and connect it in parallel to the first one using appropriate cables (often sold separately). The system will automatically recognize and balance the expanded capacity.
Stay Updated with Our Latest Reviews & Guides!
Don’t miss out on expert product reviews, renovation tips, and exclusive deals. Join our community of smart shoppers and DIY enthusiasts!
Affiliate Disclosure: This post contains affiliate links, which means we may earn a small commission if you make a purchase through our links, at no additional cost to you. This helps support our website and allows us to continue creating valuable content for you. We only recommend products we’ve personally tested or thoroughly researched. Thank you for your support!